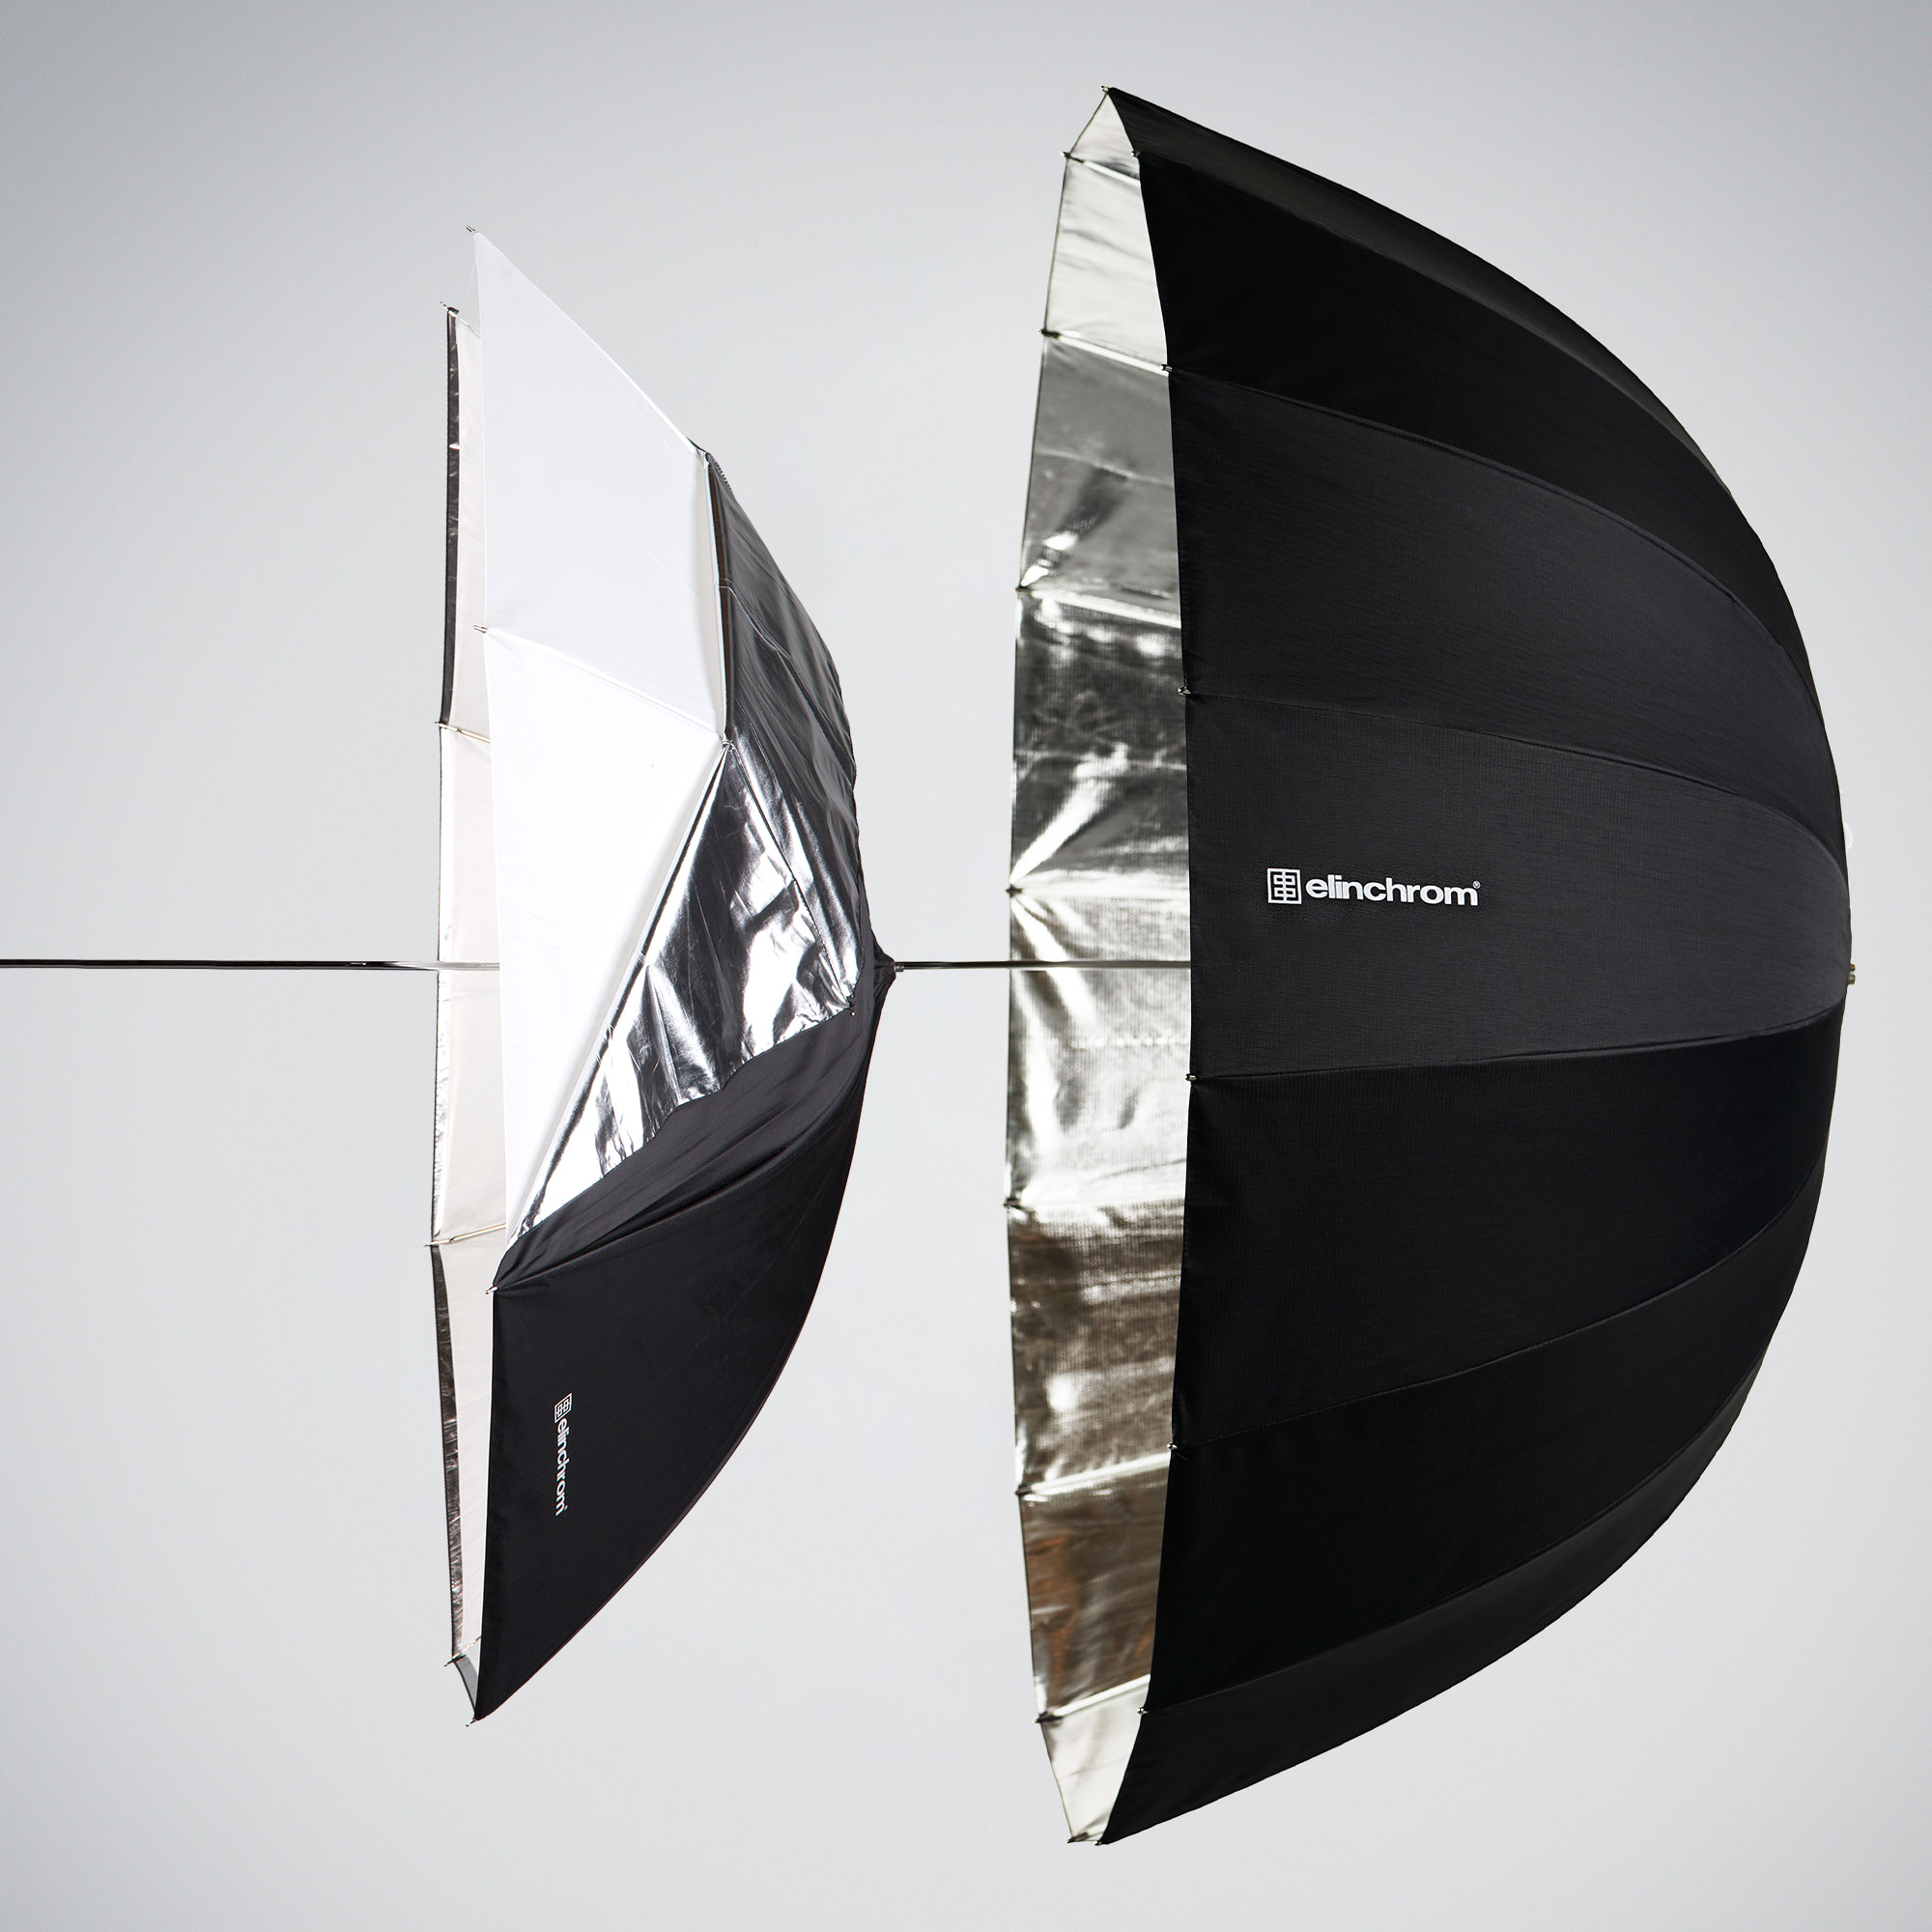
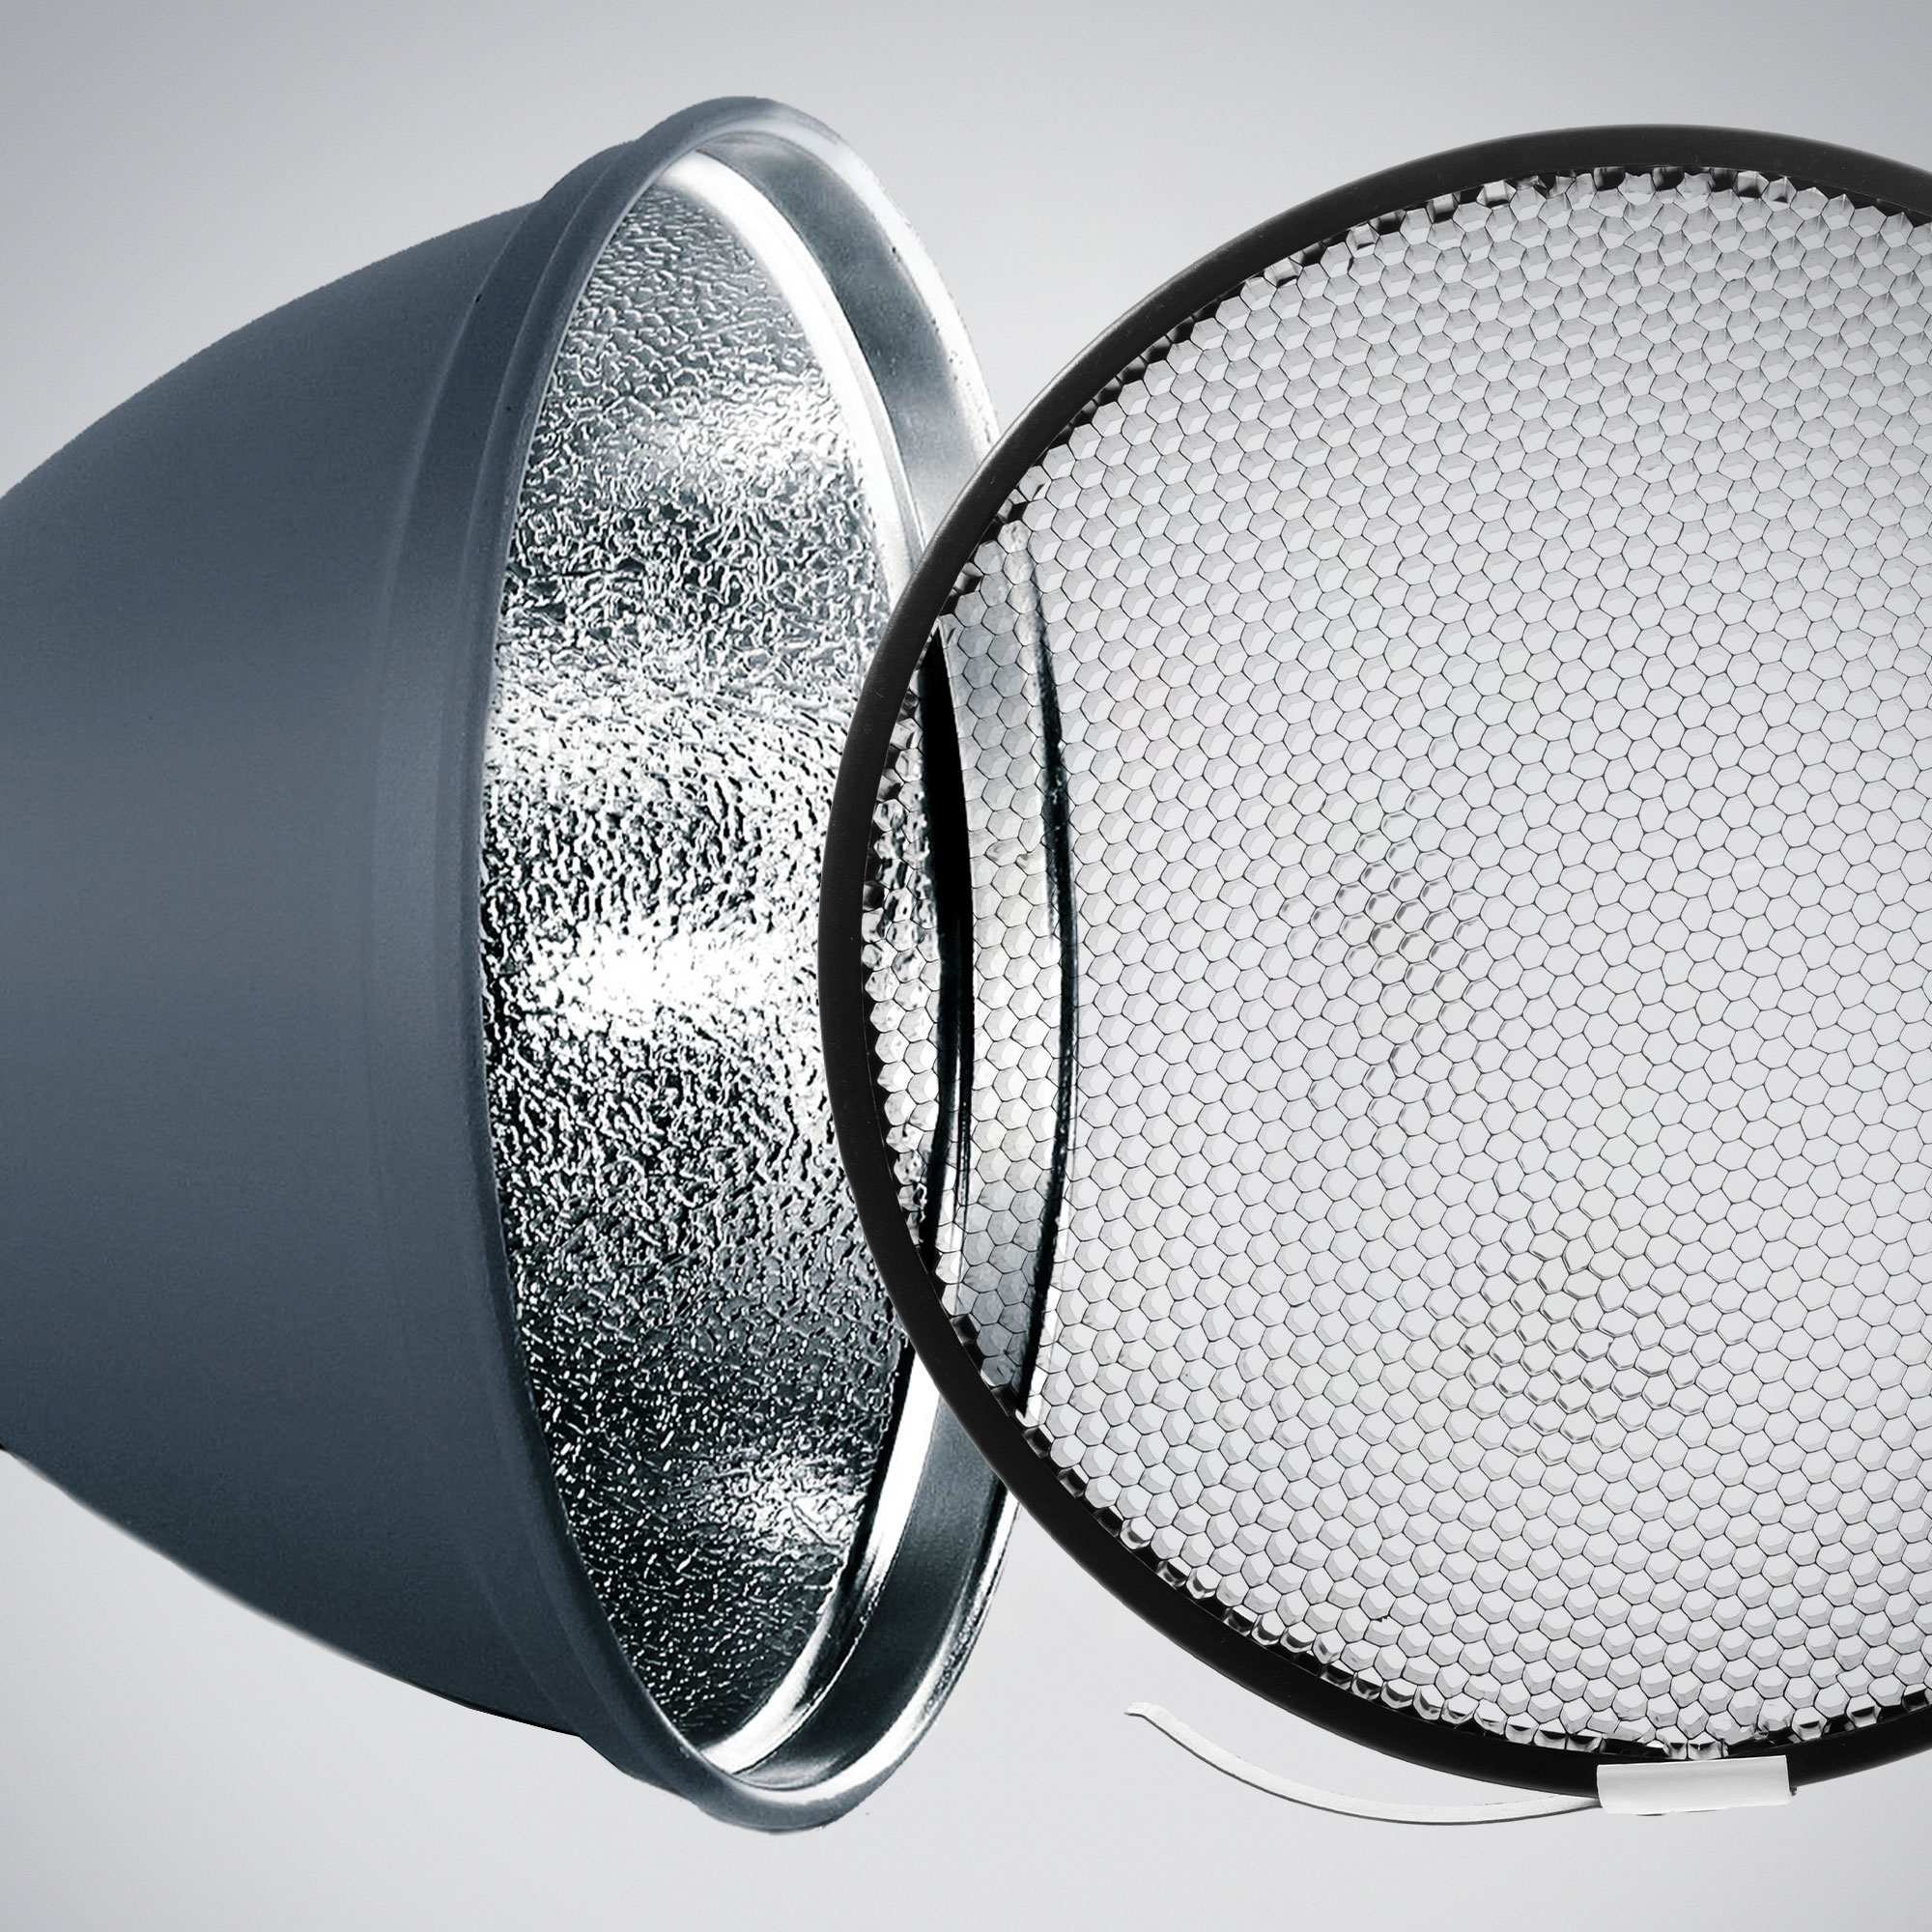
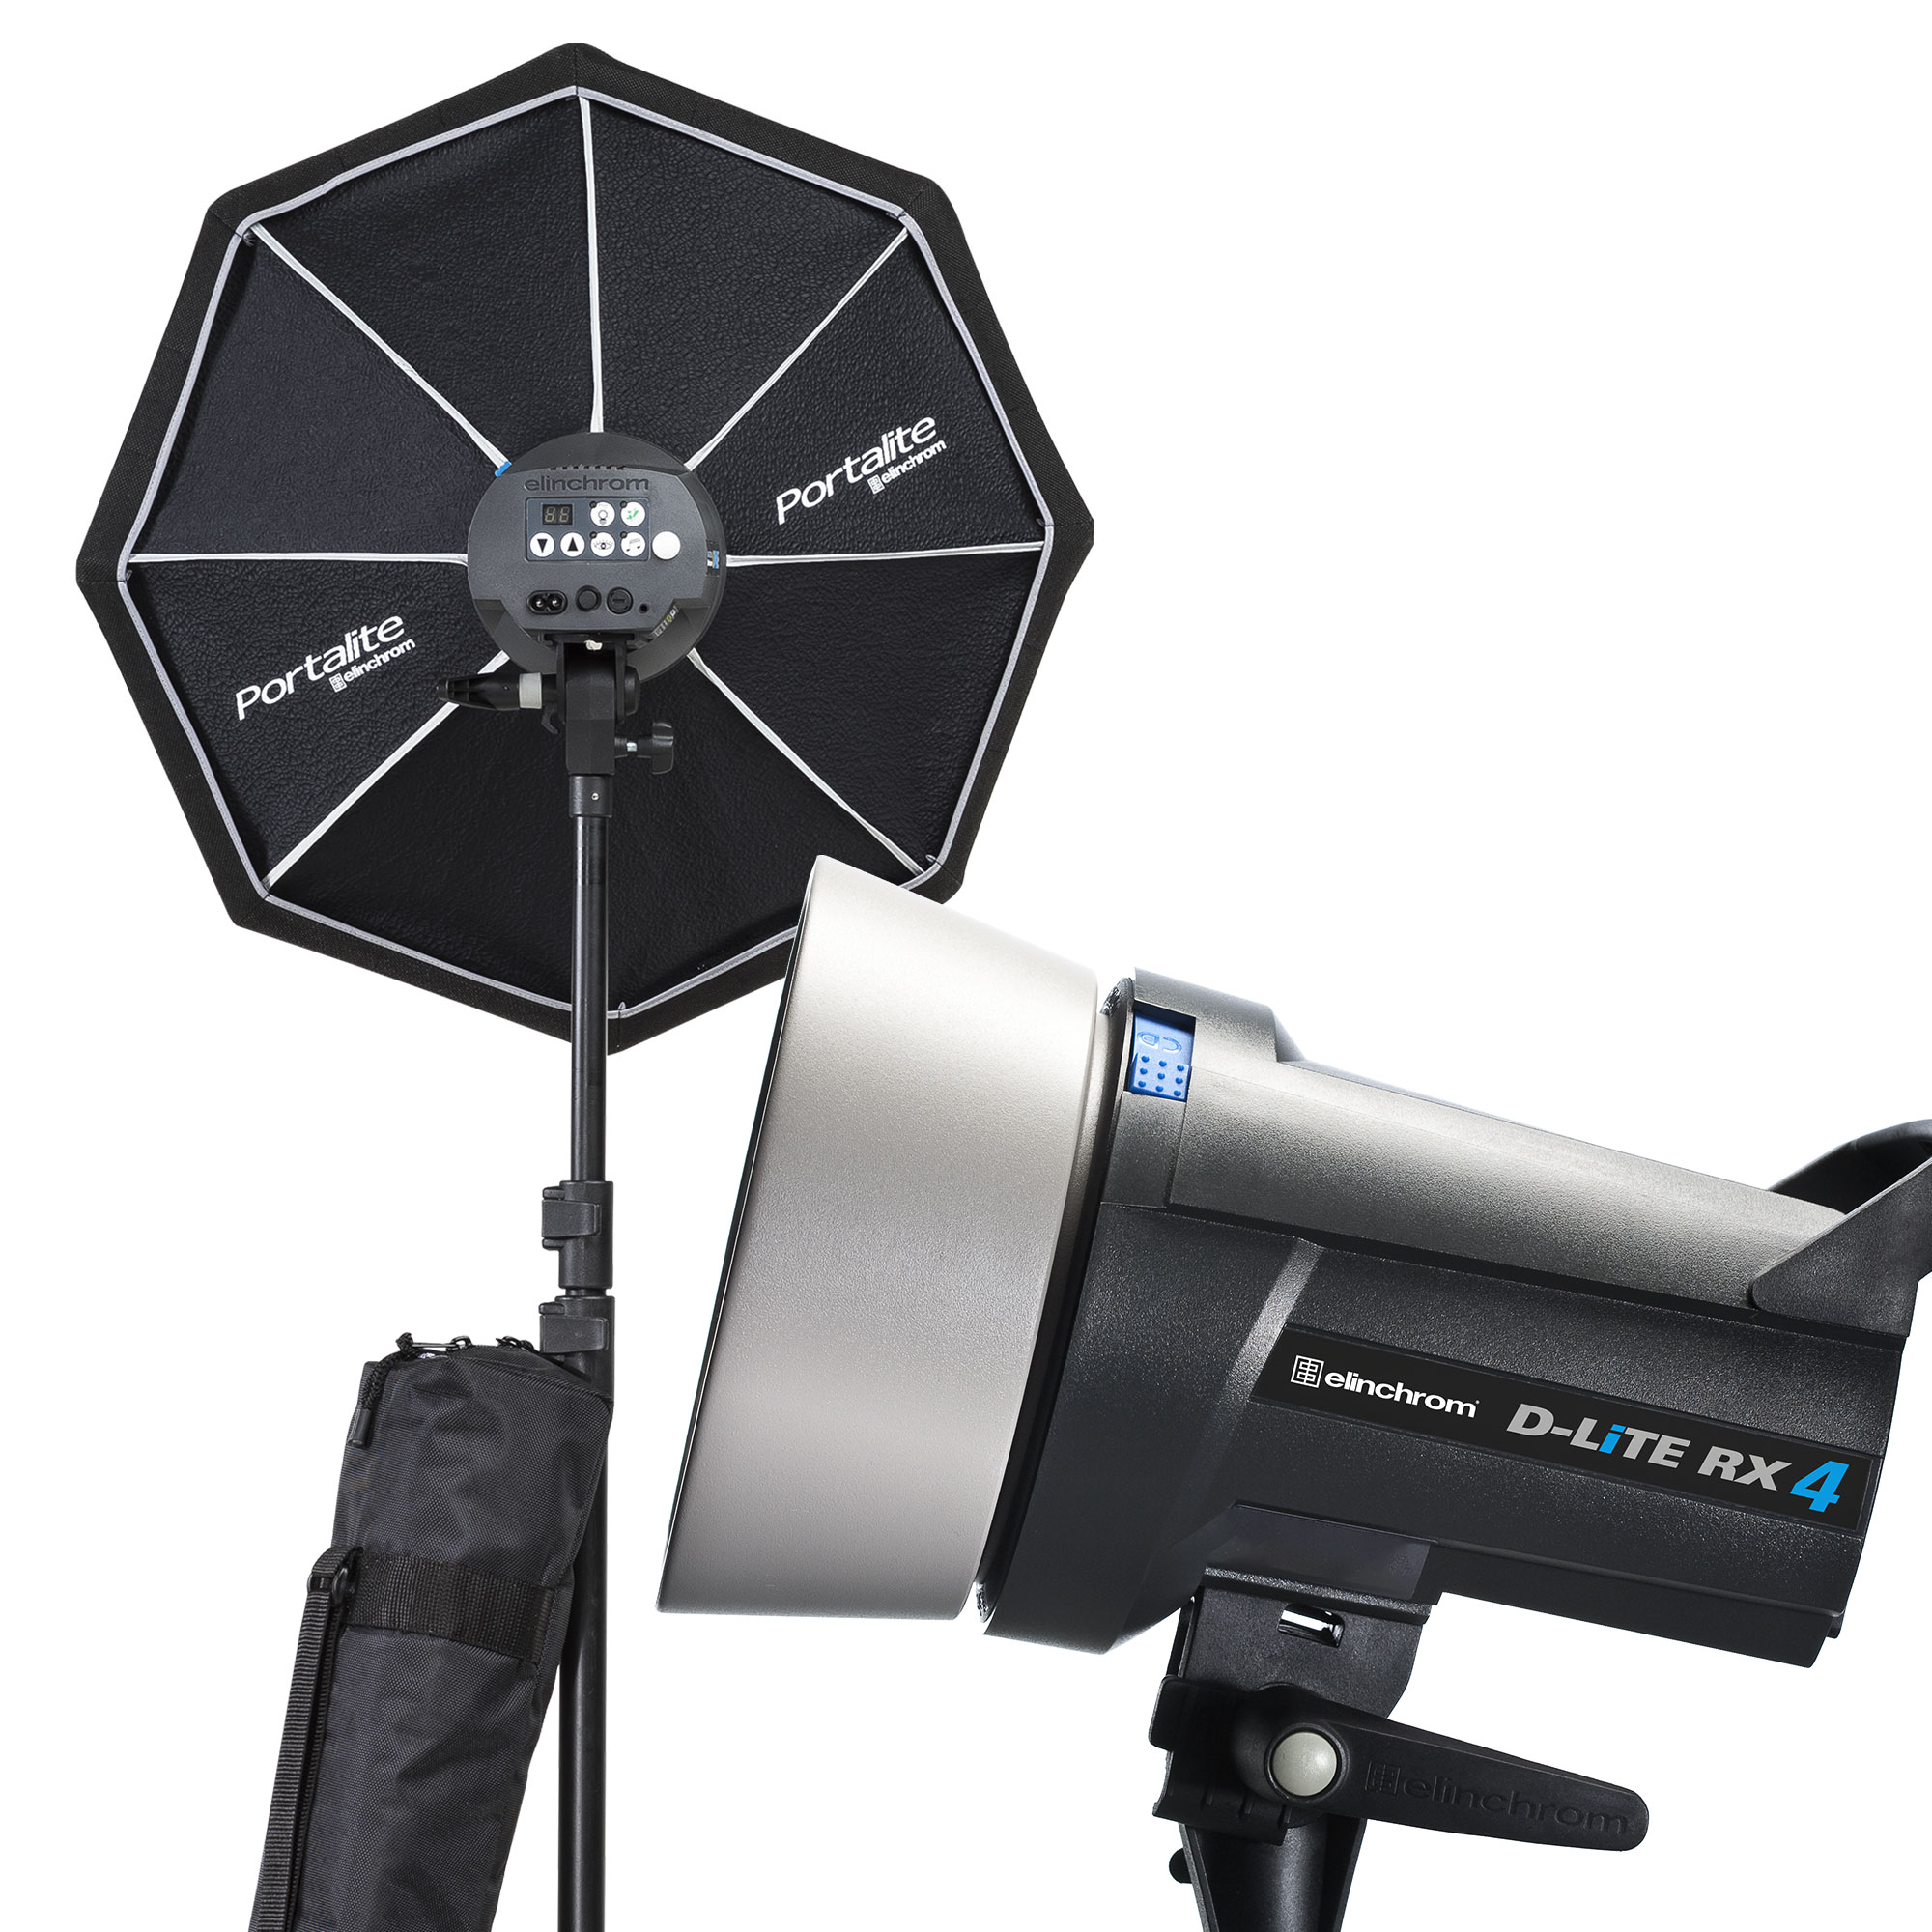
Studio flash – first setups

Low-key, mid-key, high-key:
Three fundamental lighting setups.
An introduction to your first studio setups.
In this episode, we’ll explain the three main setups you need to know to get started with flash photography.
All you need is 2 flash heads and try out the 3 photographic techniques: “low-key”, “mid-key,” and “high-key”.
Once you’ve apprehended these principal lighting concepts, you can master almost any type of studio flash setup.
“Low-key” setup
The low-key setup rule is extremely simple.
You will use one main light to illuminate your subject. Imagine the clock face with a key-light positioned between the 3 and 9 o’cock positions.
The second light will be used to separate the subject from the background. This light will be used to show only a part of the subject and has to be placed precisely on the opposite of the main light.

“Mid-key” setup
Another easy setup to apprehend is the mid-key technique.
It’s easy because you can only use one head to illuminate your portrait. Just place your subject not too far from the background, and the fall of light will produce a very nice tone of gray behind your subject.
Of course, you may still use another light to put some accent onto the hair or part of the body.
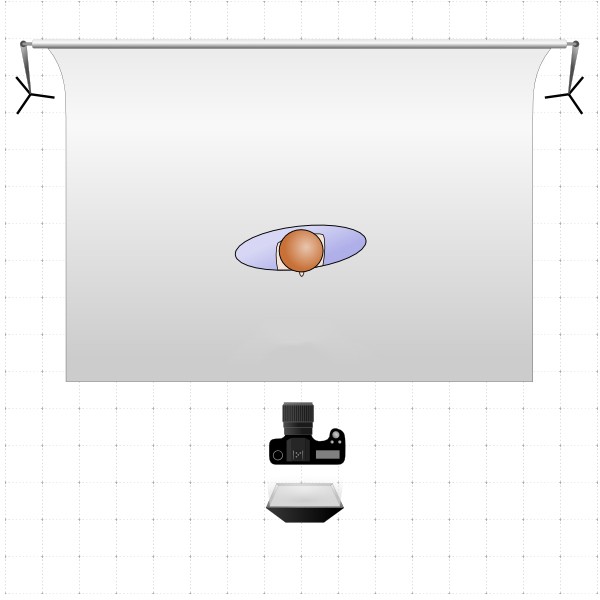
“High-key” setup
The “high-key” setup is a little bit more difficult to achieve, but if you follow the simple rules we give in this video, everything should be fine.
“High-key” basically means that the background will be illuminated with a light. Thus, one flash head is going to be fully dedicated to the back so that it becomes white.
The easiest is placing this light behind your subject, so it’s directed to the back.
The second flash head will be the main light for the subject.
And never forget, photography is only a fun experiment. You have to play with light, try different settings and make mistakes in order to fully understand and master this “photographic science”.