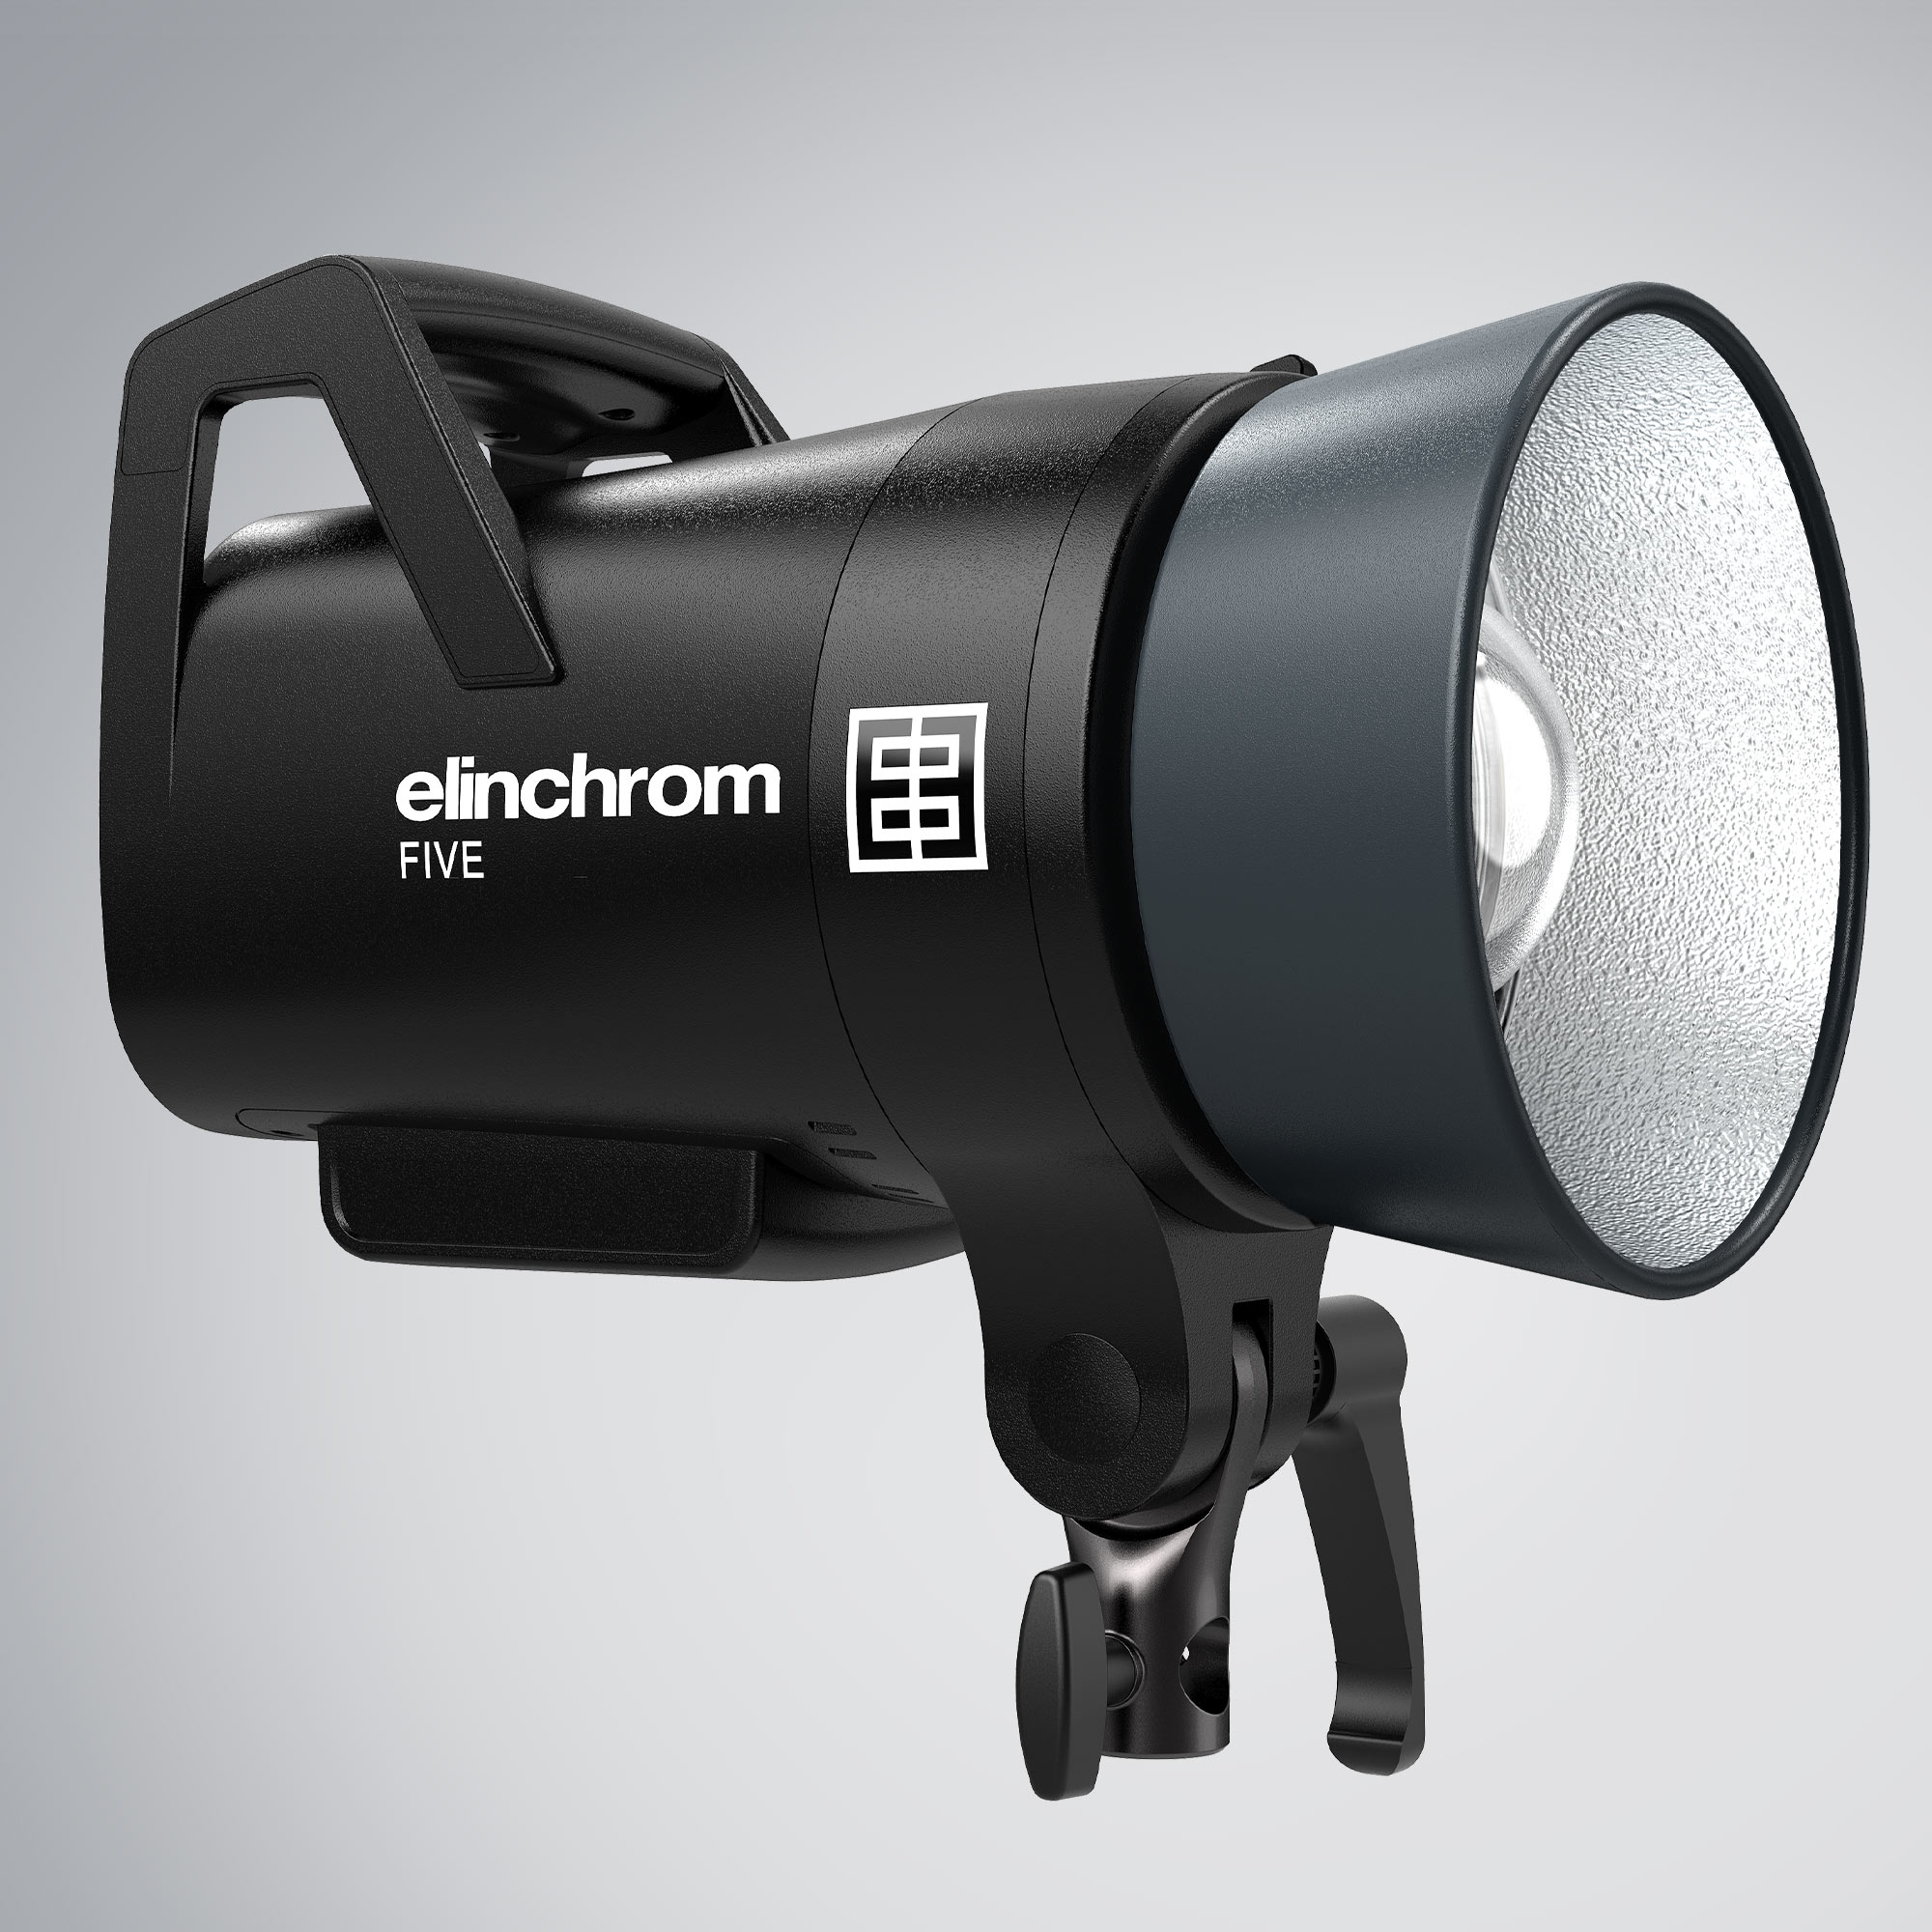
On set with the Elinchrom FIVE
Let’s dive into the colourful world of Renee Robyn and learn how she lights up the beauty of dance and shapes the movement with the Elinchrom FIVE and a few modifiers.
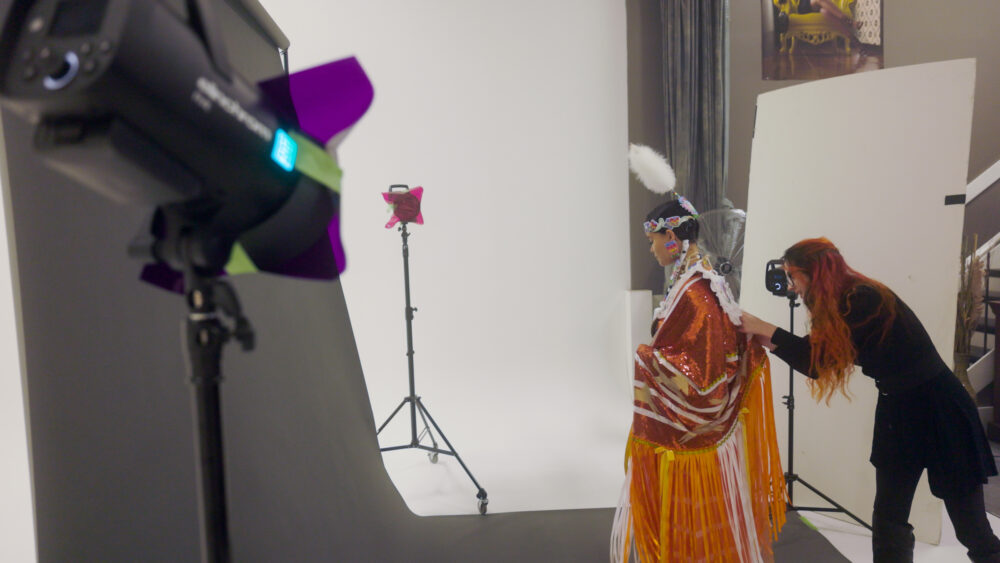
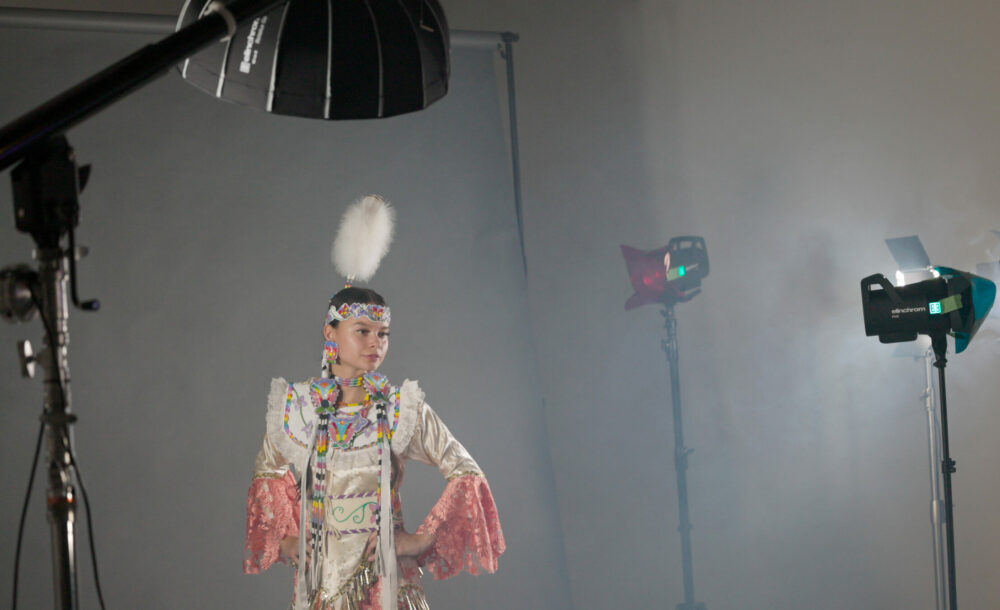
One of the subjects I love to shoot is dance. For my first session, I thought it would be fun to mix colored gels with the vibrant clothing of a powwow dancer. We had talked about a few different ideas, but the use of colored gels and smoke spoke to us the most.
Hailey makes the dresses, shawls, and beadwork; her material choices are intentional. I wanted to choose shades and lighting that would highlight not only the movement of the fabrics but the details and the hours she puts into each outfit.
Experiment with Gels and the FIVE
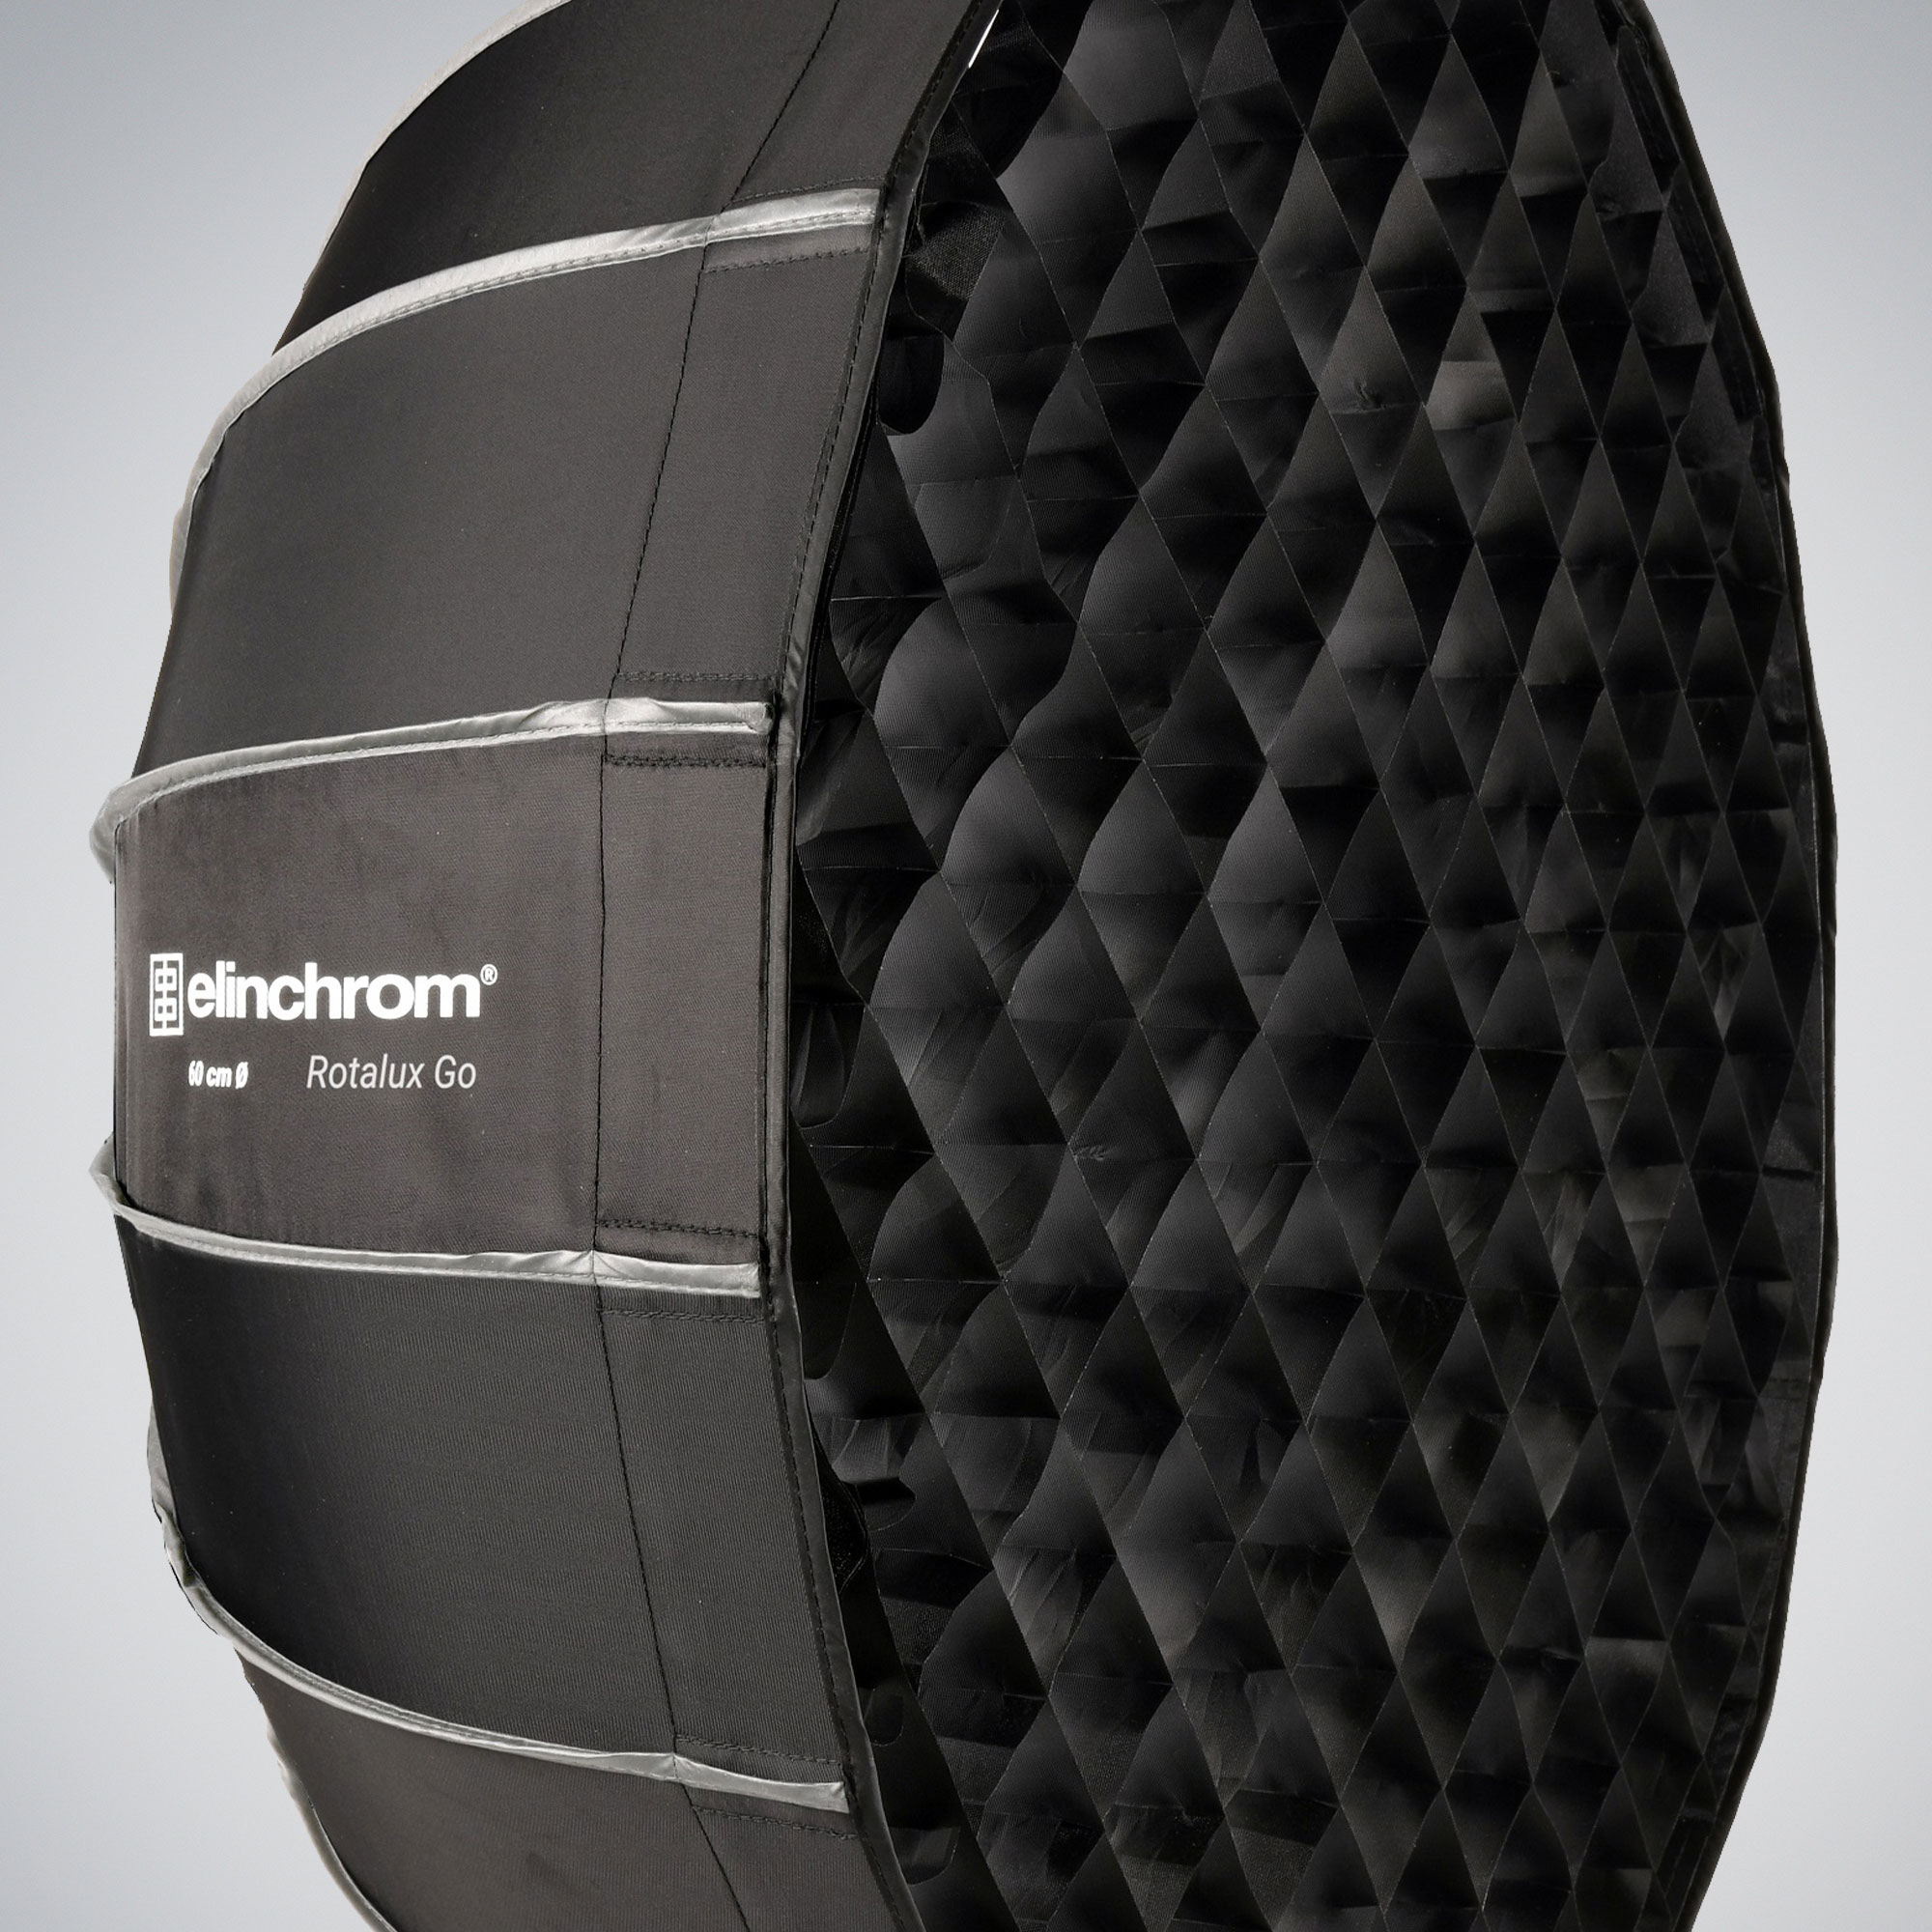
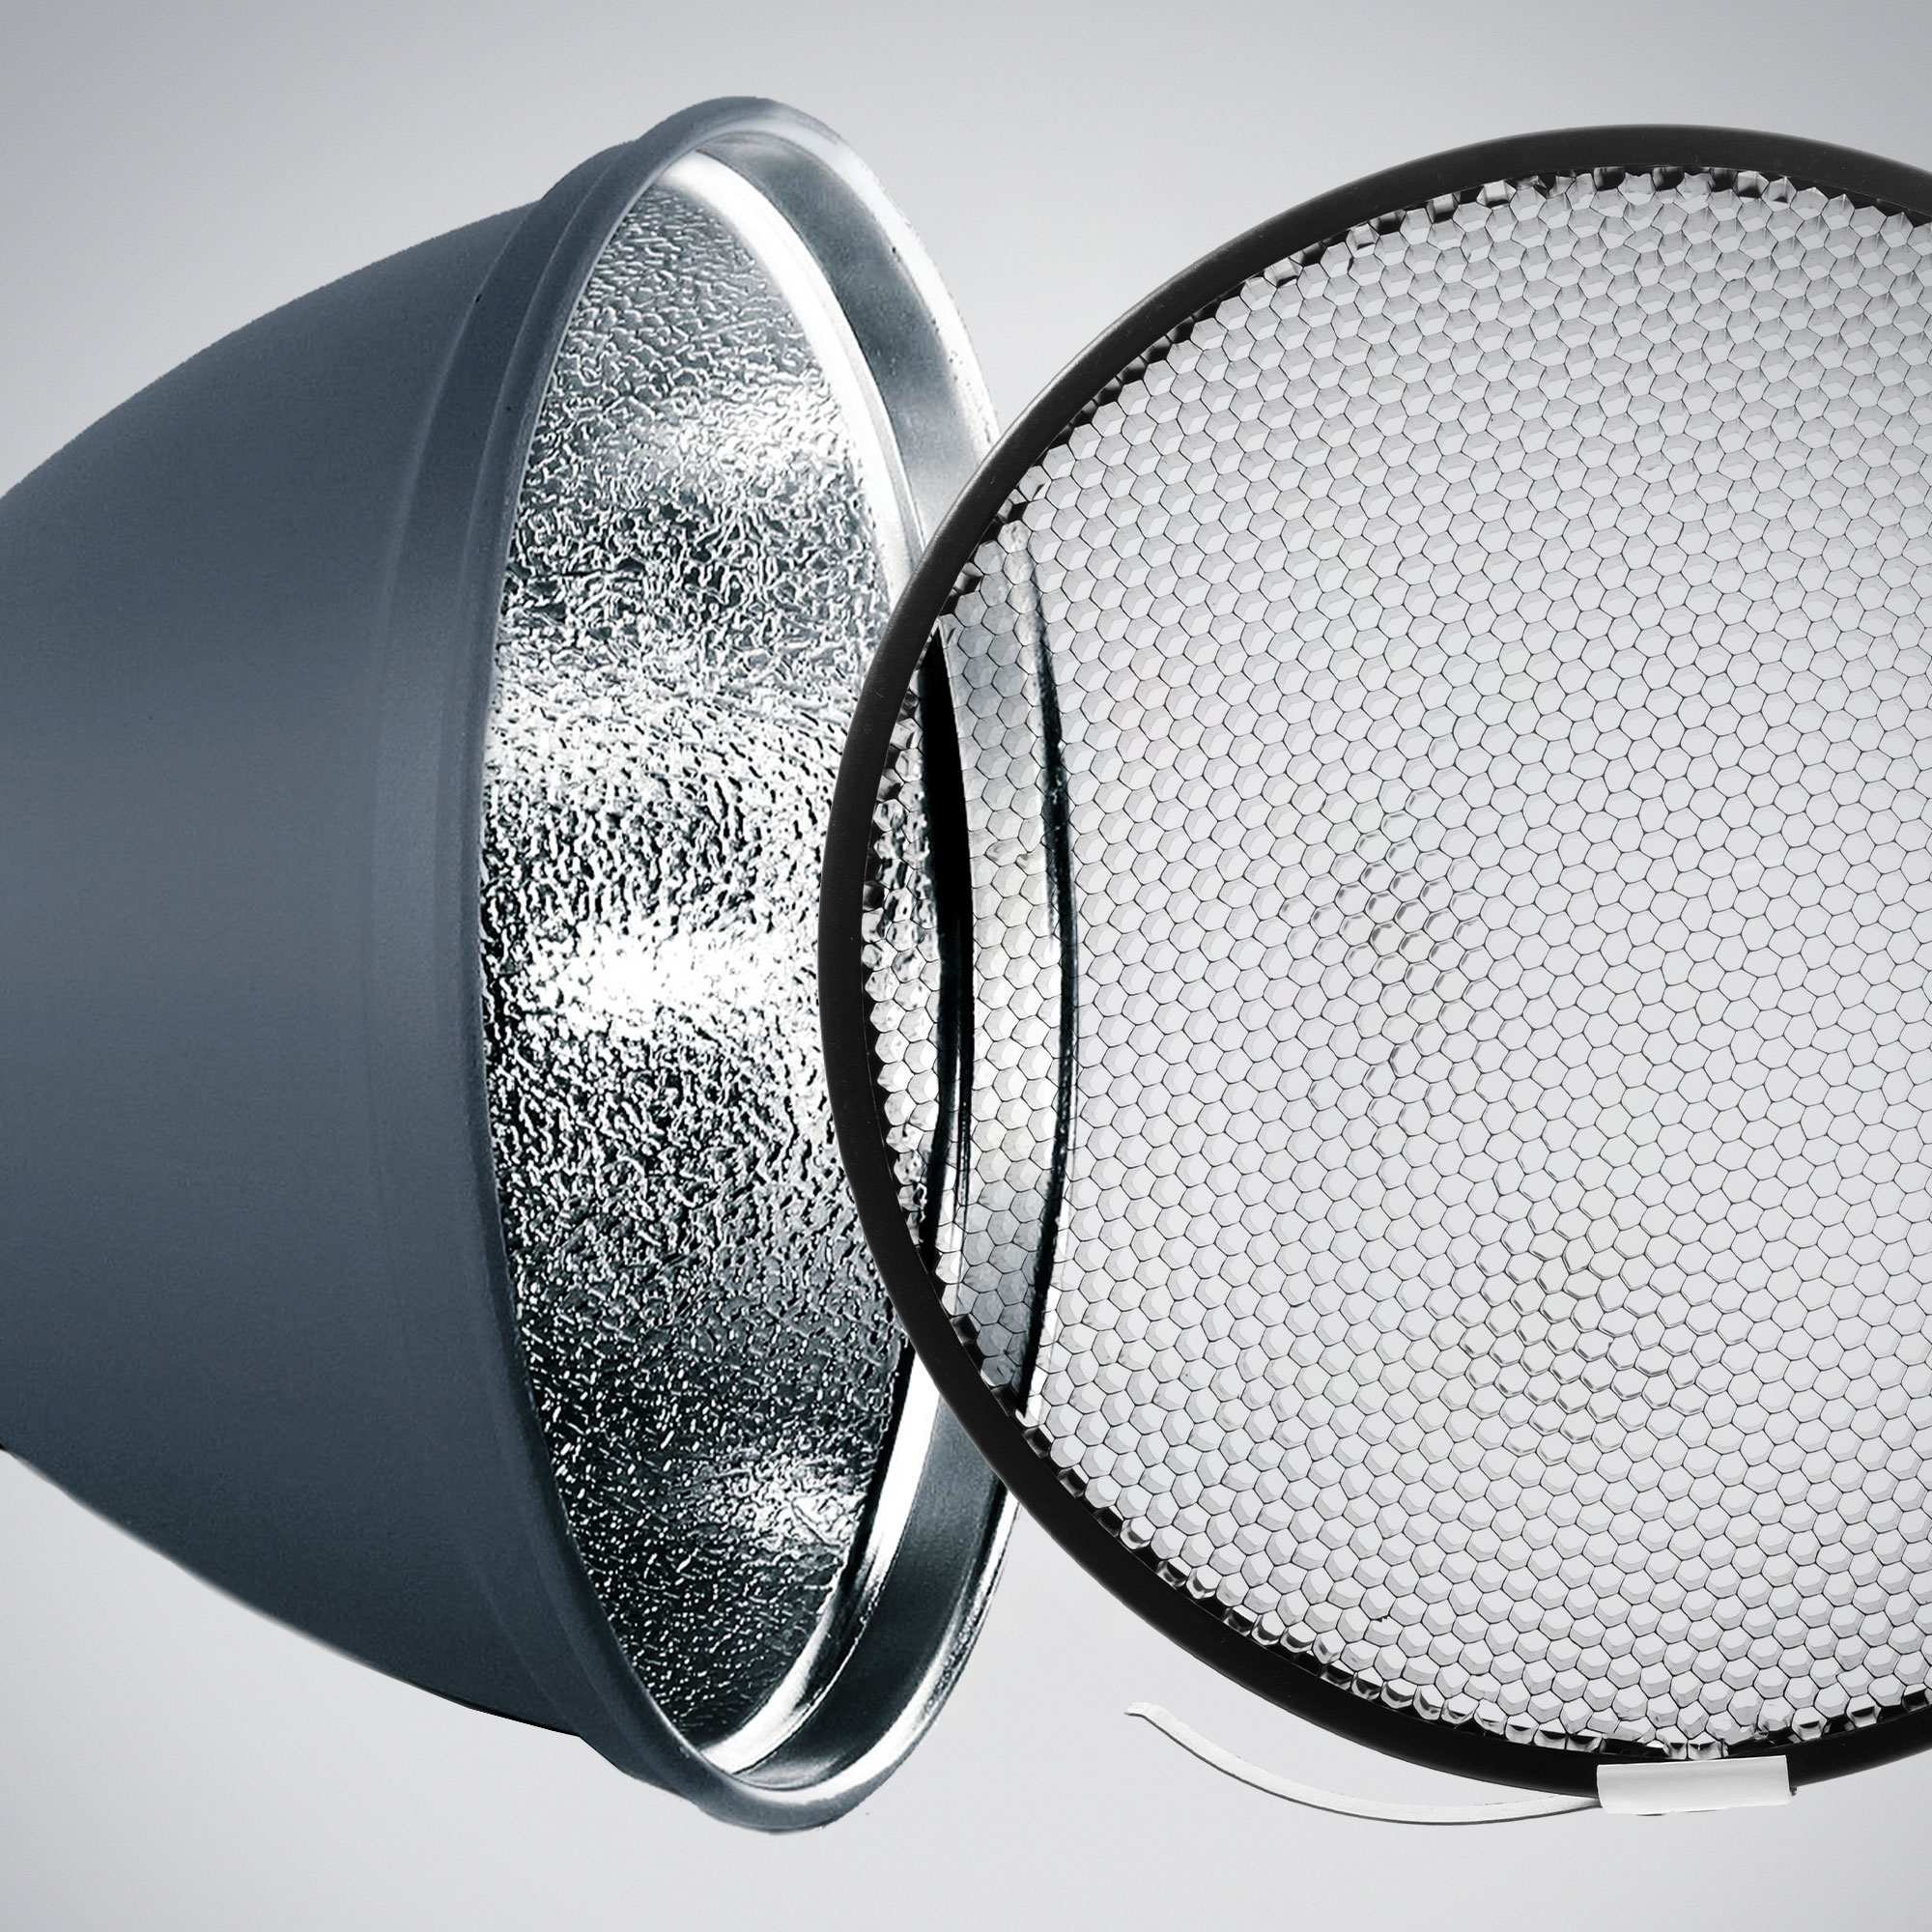
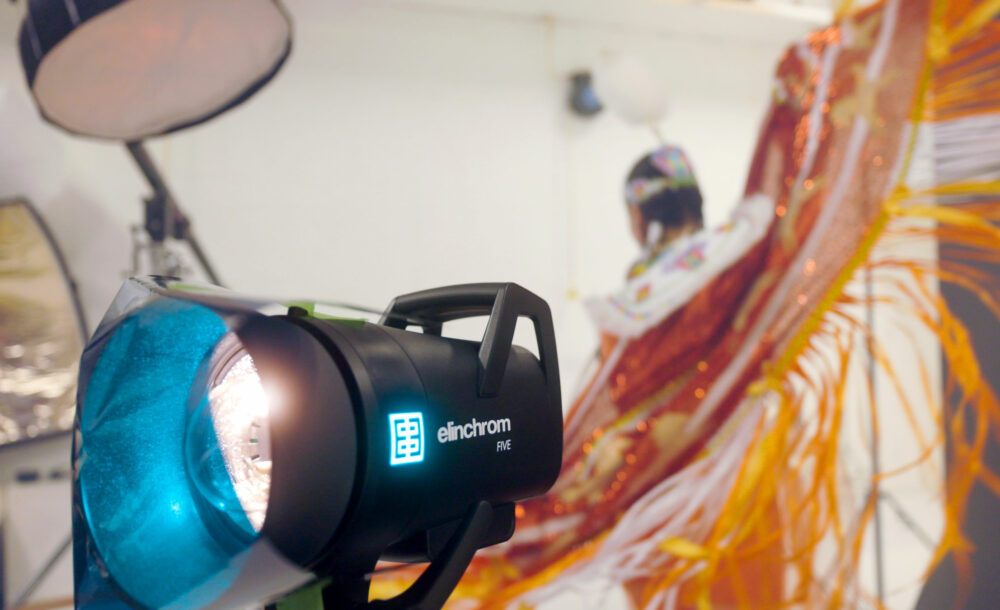
We experimented with a three and four-light set-up, using the Elinchrom FIVE and different colored gels taped over the lights around Hailey. I used two small reflector cones on either side, behind her with purple or orange (later magenta) gels taped on the front of the cones. Next, I placed another reflector cone towards a white foam core board with a teal gel and angled it lower, to fill in shadows with a slightly blue tint. Lastly, I placed a Rotalux Go Octa Softbox 60cm (24’’) on a boom above her head (I love that little light modifier!).
One of the reasons I chose to light with simple reflector cones is I wanted to create a lighting setup that anyone with four lights could create. You don’t technically need a boom stand for the setup I created, but it is nice not having to worry about an errant light stands in the shot. V flats are easy to make or buy – any trip to a home hardware store can get you a cheap piece of foam insulation that’s white and costs almost nothing.
“I love lighting.”
Sharp but with a bit of blur
I used a shutter speed of 1/1000s to ensure she was nice and sharp, but there remained a little movement in the ribbons on the shawl at the ends. Part of the beauty of this style of dance is how the fabric swirls and flows around the performer, and I didn’t want to freeze everything. The beauty of these lights is they have a beautiful short flash duration, which does an excellent job of capturing things in motion while limiting the amount of motion blur.
However, with how fast the ribbons were moving, I was able to retain some of that movement in the fabric, which I was very pleased with.
If I wanted to capture everything perfectly sharp, I easily could have pushed the shutter speed faster to crisp up that last little bit of motion, but that wasn’t the story I was trying to tell with this sequence.

In post-production, I played with the color temperature to see how it would look a little cooler vs. warmer on two images. We liked them both, which is always a forever debate for me. Which one should I choose? Fortunately, with this set, I could keep both.
From there, we played with turning different strobes on and off to see how they would shape the various poses she was making.


Three lights one on either side behind her or the cyan gel to fill in the front. A happy accident when I thought, “How about we turn off the overhead light?” It became one of my favorite shots from the shoot and would not have happened if it wasn’t for a bit of experimentation.
When it comes to lighting, I’ve learned it’s often best to say, “Ok, this looks great! What if we try something else?”
I love the four light setups we shot, but the happy accidents started when we turned the lights on and off a little more randomly. It allows for that little bit of magic. You know you’ve got good shots, and once that’s achieved, why not play a little? Sometimes it works; sometimes, it doesn’t.
But what I hope for anyone interested in getting into lighting is that you always have your curiosity. It’s easy to get wrapped up in the formulas of what you know works, but push yourself out of your comfort zone a little bit and see where that takes you.